A Brand New Day =
Waking up and turning my alarm off to go back to sleep -
snoozing for another 1-2 hours is essential and healthy :)
Nah...just kidding! A new day means a new recipe to try of course! This time, I found myself getting very/ over excited about the recipe I'd found in a leaflet from Tesco's the other day in Durham. Emma Laver's (Bakery Manager at Tesco Milton, Cambridgeshire) vegetarian background and experience as a pastry chef led her to propose the following:
Red Grape and Rosemary Focaccia
 |
| On today's menu... |
(if you've never taken a leaflet before or have even heard of it until now,I suggest that you go into a large supermarket like Tesco's, Sainsbury's, Morrisons etc. and keep your eyes out for it or to ask one of the staff members to get you one - they really are very nommy recipes!)
I'm definitely all for bread of any sort really. But grapes and rosemary? Now that I had to pause and think for a bit - normally focaccia for me is made up of black olives or red onions, so putting a fruit in with one of my favorite herbs was a bit of a new combo. After looking it up on the net and finding that Laver's recipe was actually quite popular, I decided that I'd save the red grapes I'd purchased earlier and use it to make the focaccia. Let's hope it turns out alright, I thought.
 |
| The early stages of the dry mixture |
Rules of the Baker
There was nothing overly complicated about this recipe for me - I'd made bread before so it was simply a matter of applying what I do know to a new situation (skills - checked!). For this recipe, Laver asks for the folowing:
Serves: 4, Duration = 2.5 hours (2 hours for proving the dough -- trust me, it's worth the wait!)
 |
| Mixing the dough... |
Ingredients
- 1 tsp dried active yeast
- 1 tbsp caster sugar
- 350ml (12 fl oz) warm water (not lukewarm, WARM water - I used 230ml cool water + 120ml hot water)
- 450g (14.5 oz) plain flour PLUS extra to garnish
- 1 tsp rosemary, chopped, PLUS extra sprigs to garnish (if you can't find any sprigs, like what happened to me, get a bottle of rosemary that's available in any supermarket and use that instead - works just as well!)
- 1 tsp fennel seeds, crushed, plus extra to garnish (I didn't have JUST fennel seeds; I had a bag of mixed seeds - e.g. pumpkin, sunflower, fennel etc. - I used that instead and d'you know, I reckon it was BETTER than just chucking fennel in it :-) be bold and take risks, people!
- 2 tbsp olive oil
- 250g (8oz) red grades
- Plain flour, for dusting
- Sea salt (I used a box of sea salt flakes - really gave it the added flavour that this recipe just needed to make it a perfect focaccia)
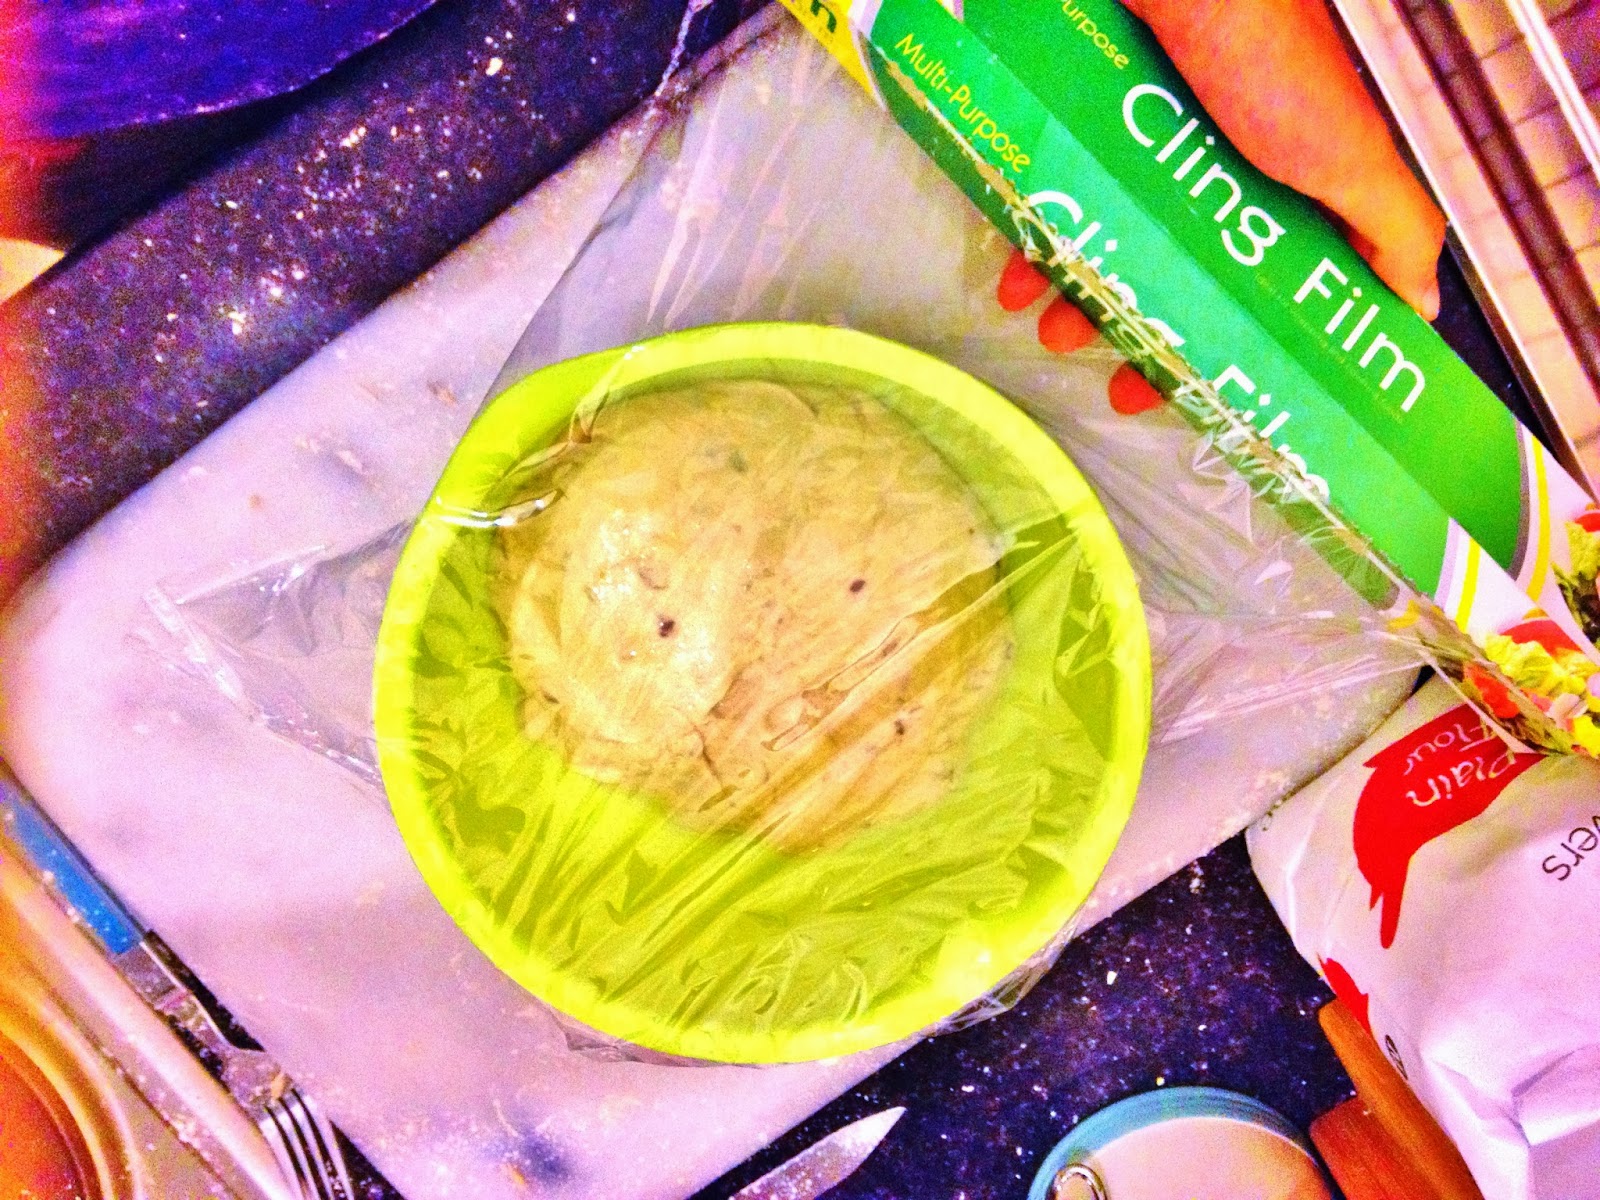
 |
| Covering it before proving... |
Equipment
- 2-3 medium-sized bowls (I reused one of them so I only used 2 bowls)
- Measuring beaker
- Large baking tray (if you have an oven, it should come with it)
- Baking parchment (size is dependent on the size of your baking tray)
- Measuring spoons (you'll need 1 tsp and 1 tbsp - or, in my case, 1/2 tbsp because my 1 tbsp melted the other day; don't ask why)
- Wooden spoon
- Bread knife
- A granite or marble work board* (this isn't 100% necessary if your worktop or island is made out of either of the mentioned materials but they're really handy when you're dealing with flour as you can simply tip all the leftover flour away and into the bin without having to dust and wipe down the entire table - I highly recommend everyone getting one of these - they can be bought in pretty much any supermarket e.g. Asda Home Living; note that they can be quite heavy).
- Rolling pin (FROM YESTERDAY's EXPERIENCE -- make sure you use a rolling pin that is JUST A BIT smaller than your oven tray or else you won't be able to roll out the focaccia to it's full extent -- that happened to me :-(
 |
| Proving in the oven that's OFF for 2 whole hours (I'm not kidding) |
Now, NORMALLY, I would say "okay kids, let's start off with preheating the oven". But, like with pretty much all kinds of bread, preheating the oven is unnecessary because your dough won't be able to go in until literally 1-2 hours later (you don't want to burn the house down by turning the oven on too early!).
Method
(note: a scientific word for a fool-proof recipe, literally :-)
 |
| After proving (it's grown!!!) |
- 1) Combine together the yeast and sugar in a bowl and pour in 350ml water; stir and set aside.
- 2) In a larger bowl, combine the 450g flour, 1tsp fennel or mixed seeds (I actually added a nice hand full - that's fine too), 1 tsp rosemary and 1 tsp salt - give it a good mix.
- 3) Pour in the yeast mixture -- FROM EXPERIENCE: it's easier to handle if you add in the yeast mixture a little bit at a time (it prevents any lumps from forming thus making it easier to mix) -- and mix using the wooden sppon.
- 4) Sprinkle some flour over the worktop or marble/ granite work board
- 5) Take the dough out of the bowl and knead it on the worktop for 10 minutes until smooth (there are bread machine recipes for focaccia too but not in this recipe - I don't have a bread machine so I have the KNEAD my way to success/ get food; it's fun but does require time and practice to get it right -- I'm still not perfect but watching The Great British Bake-Off and Paul Hollywood on the telly have definitely helped :-)
- 6) Pour 1 tbsp of olive oil into a bowl (I reused the one I had the yeast mixture in earlier).
- 7) Roll the dough in the oil to cover the entire entity.
- 8) Cover it with clingfilm and leave in a warm place for 1-2 hours until the dough has double in size (for me, it was 2 hours in my oven that was TURNED OFF)
 |
| Before rolling the dough... |
- 9) After 2 hours, take the dough out and remove the clingfilm before roughly kneading half the amount of grapes through the dough (very smart thing to do as it gives the dough a splash of color inside than just on the outside).
- 10) Scatter a baking tray with some flour
- 11) Using the rolling pin or your hands, stretch out the dough so that it is roughly the size of the tray (that was a bit difficult for me -- will need to improve on that in the future!)
- 12) ***Gently slide the dough off the tray and onto the worktop (this step WAS NOT part of the recipe but made sense to me because Laver later tells you to preheat the oven WITH the baking tray and baking parchment - that wouldn't have worked for me unless I took the focaccia off from the tray it was on because I only had that one tray; if you have two or more trays, do NOT follow this step - skip to step 13)
- 13) Cover the tray with a tea towel and it rise for 30 minutes
- 14) Preheat the oven to its highest temperature and put a lined baking sheet on a baking tray in to heat up.
- 15) Press the remaining grapes and some rosemary sprigs into the dough
- 16) Drizzle the remaining oil and scatter with sea salt and fennel seeds onto the dough.
- 17) Slide the dough onto the preheated tray and bake for 5-8 minutes (yes, it's a very fast bake but takes a lot of time to prove).
 |
| My freshly baked (odd-shaped because my rolling pin was too big - pooh) focaccia |
When it's finished baking, take the tray out of the oven. It should come out with an even rise and golden-brown on the top; hopefully yours will have a better shape than mine (must buy a rolling pin that's
SMALLER than my tray for the future!). Cut, using the bread knife, the required amount of slices. Serve whilst hot (yes you can eat it when it's cooled down but seriously, what's better than freshly baked and hot bread?!?!?!)
 |
| Who want's a slice? :-) |
You can have it with cheese (goats' cheese is highly recommended), red pickle spread, Nutella etc. or peanut butter like I had this morning (I made the bread last night and so, I didn't have to worry about breakfast :-) if you make it the night before, I suggest that you cut out the required amount of slices and then chuck it into the oven to heat up (it'll come out nice and crunchy on the outside but soft and springy on the inside; plus it's hot! Emphasis on the deliciousness of hot bread intended!)
If you want to know if you've made the bread correctly, follow these simple tips:
- 1) Cut out a slice and see if there are air pockets inside the bread (I think the more there are the better -- correct me if I'm wrong).
- 2) Using a finger, press firmly on top of and inside the bread and see if it bounces back each time; if it doesn't leave a mark, you've done it right - congratulations :-D
 |
| Note the air pockets - a professional made one has better looking and I think bigger air pockets (but I'm an amateur so leave me alone :-P |
A truly delicious and easy bake - perfect for anytime of the day and undoubtedly a great way to get
ANYONE up and going in the morning.
 |
| Breakfast is served :-) |


it looks good, I want to try too.
ReplyDeleteThis looks devine
ReplyDeleteThanks! It was very delicious :D
Delete